Exclusions. This complex option
allows you to exclude parts of the cave from the line plot.
| 1. Complex Dialog Box. To use
the Complex Plotting options, bring up the Complex
Plotting Dialog Box by select the "Preference -> Complex
Plotting" option from the Viewer Menu Bar.
2.
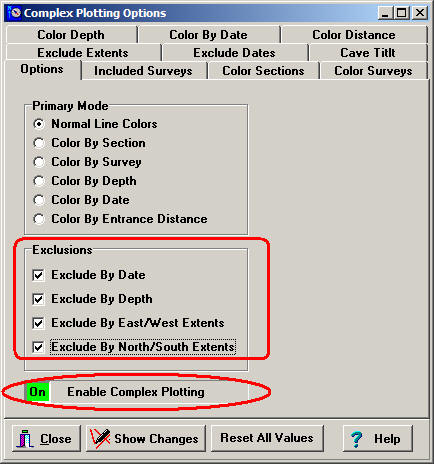
Enable Complex Plotting. To enable Complex Plotting,
click on the Enable Complex Plotting box at the bottom
of the Options page. It should turn green when it is
enabled.
3. Exclusions. In this
example, we are going to use all the possible
exclusions. To do this, check all the Exclusion options
shown to the right. You can of course use any
combination of exclusions you want.
|
 |
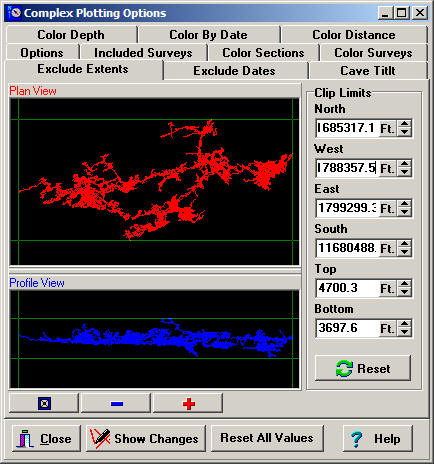
| 4. Selecting Extents.
The next step is to choose which part of the cave you
want to exclude. We'll start with excluding based on the
physical location of passages. You do this by selecting
the "Exclude Extents" Page. The
page show a plan and profile view of the cave, along
with 8 green lines. The green lines define the parts of
the cave that will plotted and the parts that won't. You
drag the lines with the mouse. If you have trouble
seeing the passages in the cave, you can expand the
window and zoom in using the Zoom Button at the bottom
of the window. You can also set the position the North,
South, East, West, Top and Bottom lines to precise,
numerical values. |
|
| As you make changes, you
can view those changes by pressing the "Show Changes"
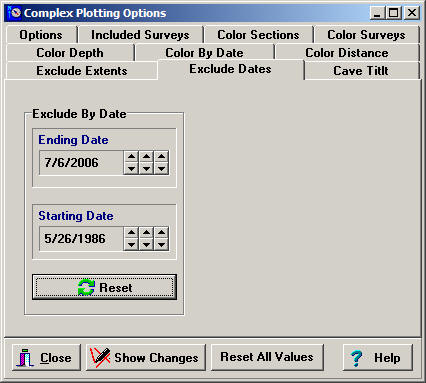
button 5. Exclude By Date.
If you have selected the Date Exclusion option, you can
select a span of dates that will be included in the
plot. Just select the "Exclude Dates" tab and choose a
Starting and Ending date. Only those passages that were
surveyed sometime between the two dates will be
displayed
6. Tilt And Depth Exclusion.
In some situations, excluding passages by depth doesn't
do exactly what you want. |
|
| For example, in some
caves, the passages follow tilted layers of limestone.
If you exclude passages by depth alone, it will be
very difficult to include or exclude the passages that
you want. To solve the problem,
you have the option of angling the depth exclusion so it
follows the tilt of the cave.
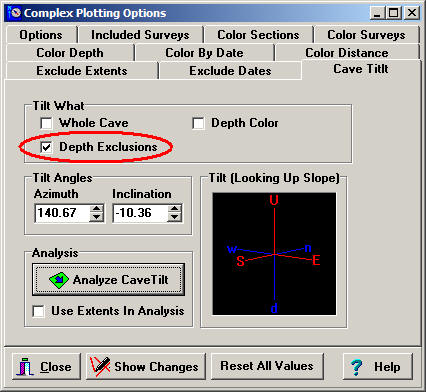
To activate the Tilting Option, select
the "Cave Tilt" tab. In the "Tilt What" box, enable the
"Depth Exclusions." Finally, choose a tilt angle. Refer
to the help section for detailed information on finding
the tilt of the cave. |
|
|